|
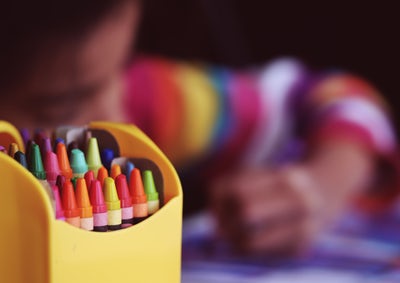
So excited to be featured in this blog by Emily Huddleston at Redfin. TONS of great tips and tricks from fellow organizers! Just click on the pic and enjoy! Your answer for organizing, Ali 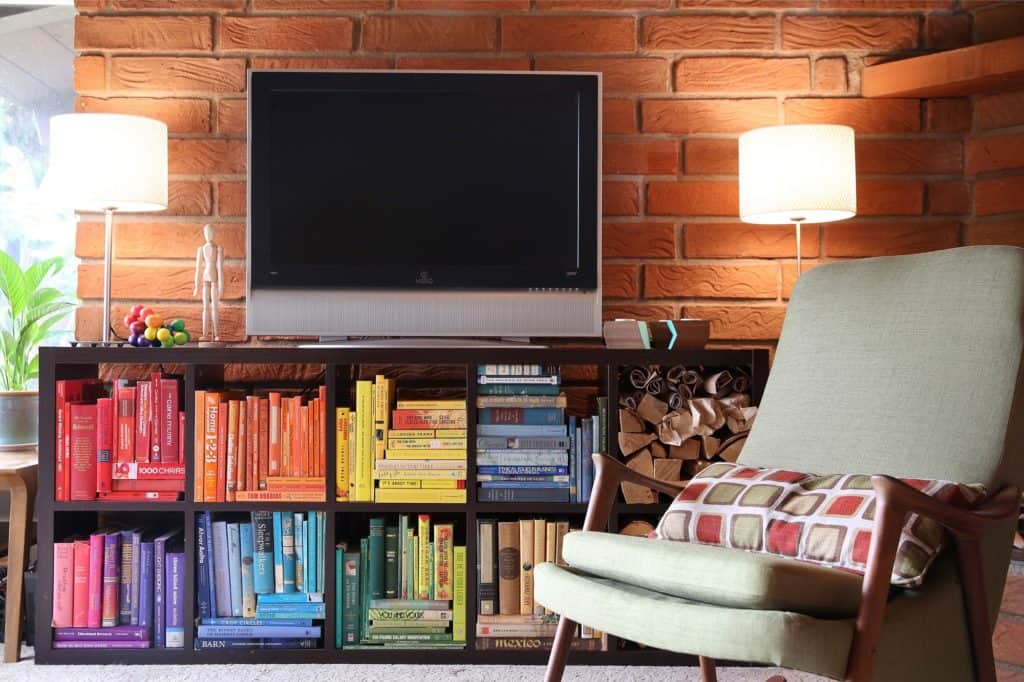
1 Comment
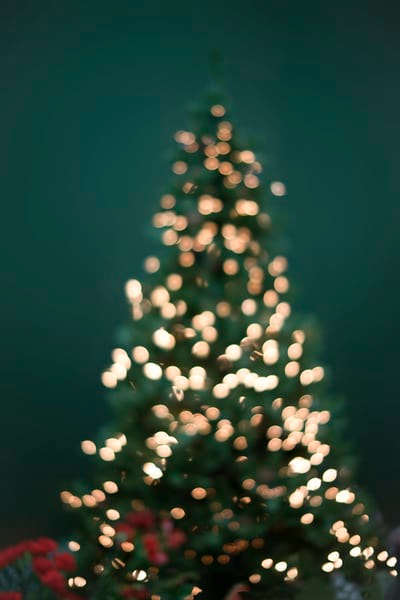
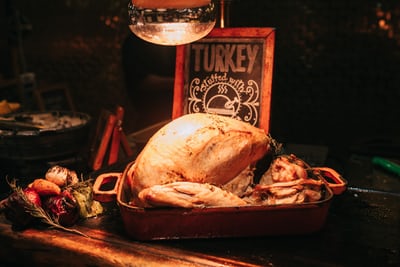
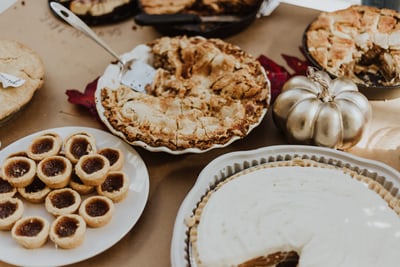
To help you get through the crazy (but wonderful) holiday season, I thought I’d give you 25 tips-n-tricks that will hopefully make your life a little easier: #1. Spend a few hours and purge your kid’s toys. Donate anything that has been loved but outgrown and toss anything that is broken or missing parts. #2. This tool is an ABSOLUTE MUST when it comes to wrapping. #3. Speaking of wrapping, check out this gift wrap cart from The Container Store. #4. Or go big with a wrap CLOSET (what?!?!)!  #5. Here’s a super easy recipe I use for a delicious holiday cocktail: In a shaker add ice, 1 ½ oz. green apple vodka, ½oz. triple sec, 1 oz. grenadine syrup and 3 oz. cranberry juice. Shake vigorously and serve over ice with an orange slice as a garnish. If serving at a party, it’s easier to make in a larger batch😊in a pitcher, add 12 oz. green apple vodka, 4 oz. triple sec, 8 oz. grenadine syrup and 24 oz. of cranberry juice, stir, add ice and orange slices. Cheers! 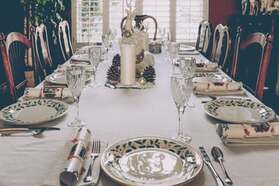 #6. Here is a guideline when serving turkey: Dinner for 4: a simple turkey breast will do! Dinner for 5-8: choose a 10-12lb. turkey Buffet for 9-16: choose a 14-16 lb. turkey #7. Here is a guideline for serving sides: Dinner for 4: 3 sides Dinner for 5-8: 3-4 sides Buffet for 9-16: 5-7 sides #8. And here is a guideline for serving desserts: Dinner for 4: 1-2 desserts Dinner for 5-8: 2-3 desserts Buffet for 9-16: 3+ desserts #9. Check these options out for holiday plate storage. #10. When shopping, use apps like Ibotta or Rakuten (previously ebates) to earn cash back. #11. Mist live greenery and your live tree daily. Not only does it help to keep them fresh longer, it also helps to boost the scent in your home. #12. When lighting your Christmas tree, use 100 lights for each foot of tree. #13. Use 10-15 medium sized ornaments for every foot of tree. #14. After the season, wrap your string lights around a hanger. I’ve been doing this trick for YEARS, and thanking myself EVERY YEAR for doing it when I go to decorate my tree! #15. Check out these options for easy ornament storage.
#16. Or, use an egg carton for DIY ornament storage. #17. Want to make your home smell like the holidays? Simmer a mix of cut oranges, cored and cut apples, cloves and cinnamon sticks on the stove in apple cider. #18. Hanging decor? Skip the holes in the wall and check out inspiring tips from Command brand. #19. Last day to send packages in time for the holidays thru USPS is Dec 20 for first class, Dec 21 for priority mail and Dec 23 for priority mail express service. #20. Here's the link for FedEx holiday ship dates. #21. Here's the link for UPS holiday ship dates. #22. Take the time to upload your address book info so that you can easily print mailing labels for holiday cards. If there’s no time to do it for this year, make it a “to-do” list item for January…it’s another thing you will be thanking yourself for next year! #23. If you receive cards with photos, take pics of them and use it as their contact photo in your phone. Also, check to make sure their address info is up to date! #24. Speaking of phones, use the Notes app and keep a running list of gift ideas for people on your list. That way, when you see or think of that perfect gift for someone, you will remember what it is when you are ready to buy. #25. Or, download the Santa’s Bag app to get super organized with your holiday shopping! Cheers to you and yours! See you in 2020! Your answer for organizing, Ali 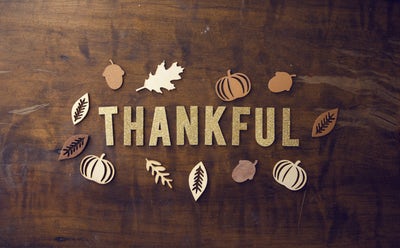 I cannot believe that Turkey Day is right around the corner!!! To help myself get prepared for hosting Thanksgiving, I like to utilize multiple checklists. Here are my top ones: Meal Planner: Start with planning out your meal. Of course, you will have your holiday favorites, but maybe you’d like to try a new dish or have a themed cocktail. Listing what you’d like to serve will help you “assign” dishes to family and friends who would like to help out and bring something. Speaking of family and friends, it will also help to keep a Guest List of who will be coming and when. Some people may choose to come for just appetizers or dessert, so it will be helpful to know who is coming with what and when. Another piece to planning the meal is oven time and space along with freezer/fridge space. Thinking this out now will keep anxiety down then! Shopping List: Having thought out and planned the meal, you can start your shopping list. As you add needed ingredients to your list, take time to check your spices and get rid of anything that is expired. Expired spices won’t bring harm, but they will not bring the maximum flavor to the meal either. With the busy cooking & baking season upon us, you will thank yourself later for taking a few minutes now to get your pantry organized and stocked with fresh staples. Server-Ware List: Next, make a list of what you will use to serve each dish in. Some server-ware is only used during the holidays, and may need to be cleaned and polished. Doing this now will save you the headache later. This is also a good time to go thru and discard/replace any chipped dinnerware. Many retailers run “tabletop sales” now knowing that holiday entertaining is upon us😊
Needed Items to Borrow or Buy: Once you know who is coming and when, think about seating and how you plan on serving the meal. You may need to rent/borrow extra tables and chairs. List out what’s needed, and who will lend you what. Also, map out your “traffic flow”. The kitchen is usually the hub, but on this busy cooking day, that can become an issue, especially in smaller spaces. Designate a person to help you keep guests out of your work zone. Set the main appetizers and bar in a place that allows good traffic flow, with smaller bowls of snackable items set throughout your home. Have some chairs set in “conversation style” to encourage people to sit in them (keeping them out of your way!). Ensure there is enough comfortable seating with good views of the TV to watch the game! If you search Pinterest or the web, you will find numerous printable planners and checklists for every occasion. Or, you could use a good 'ole regular notebook. Anyway you choose to get organized, you will be THANKING yourself this THANKSGIVING by putting in a little time now for planning! I wish you and your families a happy holiday season! Your answer for organizing, Ali Time to do laundry….”eeeerrrrrrrr!!!!”. If you are like me, laundry is your least favorite chore. I’ve been in a few homes where laundry is a beast and I have helped families get out from underneath the piles! Here are some tips-n-tricks that I’ve used to make this unavoidable task go a little bit easier:
I hope that this has given you some ideas that you can use in your home! If you think you need some one on one help, contact me for a consultation! Your answer for organizing, Ali  With the new school year in full swing, I thought I’d write about a question that I hear from many of my clients: "what do I do with all of the artwork my child brings home?!?”. Naturally, there is an emotional tie to almost everything they make, especially items made just for you! Of course, we can’t keep it all (and I’ve seen what happens when people try!) so here is an idea that may help: create a Memory Box for each child. Here are the steps:
Your answer for organizing, Ali Spring has arrived! So, since we are in the season of renewal and refresh, I wanted to tackle some common situations that you may find yourself in. “My mother passed away over 2 years ago, but I have not been able to go through her things.” Losing a loved one is full of emotion and going through their belongings is bound to bring those emotions of loss and grief to the surface. Partnering with someone like a friend or a professional organizer can help to keep you objective. As you start to sort, create categories: things that you’d like to keep, things that other family members or friends may like to have, and things to sell/donate. For the things you’d like to keep, make sure that you have the room, and keep only those things that have the most meaning to you and give them a place of honor in your home. Be aware that there will be items that you come across that you feel obligated to keep. Remember, these are THINGS, and NOT the person that you loved. Be honest with yourself about the amount of room in your home that you can give to these items. If you don’t have the room, take pictures and start a scrapbook jotting down the memories and feelings next to the picture that are associated with the item. For the items that you are giving to family and friends, make sure that they are wanted, and have a deadline in mind for passing it on. If you are selling items, maybe think of honoring your loved one by donating some of the money to a charity or cause that they cared about. 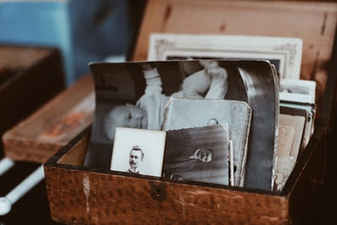 “I have a ton of photos, cards and keepsakes! Help!” This is something that I come across frequently, and it also takes time to go through these mementos. First, be realistic about the time thing…this is most likely not a project that will be completed in one rainy afternoon (you will find yourself getting drawn in to the memories held in these items). BUT, you also don’t want this to be a never-ending project! So, do have an end date in mind! First, find a place in your home that will give you the room to work on this project and the ability to keep it “safe” when you need to walk away. Do a quick sort without getting too wrapped up in the memories… here are some typical categories: pictures, letters, cards and objects. Then further categorize by time period/event: elementary school, high school, college, trip, wedding etc. Anything that does not have a positive memory attached to it should be let go. See what you have and think about how you would like to store them so that they can be enjoyed! The point of having these things is so that you can easily access them when you want to enjoy a trip down memory lane. Limit yourself by having just one box, or file cabinet. If you have too many photos, think about scanning them and storing digitally. If you have cards that are sentimental, think about taking a picture of them, storing them digitally and only hanging on to a few really precious ones. Contain your mementos by your chosen categories. If keeping in a box, use a string-closure envelope like this one from The Container Store. Label the outside and place it in your memory box. This will make it easy to find and retrieve something, and it will also make it easy to file something when needed.  “My garage has so much clutter that we don’t have room to park the car!”
When clutter starts to form small mountains in our space, it can feel very overwhelming. When I start a project like this with a client, afterwards the client usually confesses that the hardest part was thinking about where to start. But, once you get rolling, you’ll be amazed at how fast the time flies! Be prepared with a few trash bags, one for trash and one for recyclables. Also, have a few bins available too. Have 1 labeled for “belongs elsewhere” for anything that you come across that belongs somewhere else in your home. When the bin is filled, then you can take those items to their correct homes instead of walking away from the garage every time you find something that doesn’t belong there. Since you’re in your garage, your car is probably nearby…have it cleared out and ready to pack up with items that you are ready to let go of and donate. If you have too many items, many places like GreenDrop will come by and do a pick up for free. They don’t take everything, so make sure you check here for the list of things that they will take. If you have items that they do not accept, try a hauling company like 1-800-Got-Junk. As your purging, start to sort the items that you are keeping into categories: tools, lawn & gardening, sporting equipment, home improvement supplies etc. Keeping like items together will help all members of the family maintain order in the space. Map out the best place to store these categories based on where they will be used (gardening and lawn items near the garage door to be used in the yard, tools and home improvement supplies closer to the door/entrance to the home). Also, ensure that all items are ACCESSIBLE! If things are hard to get to, you most likely will not put it back when you are done using it. Convenience is key to maintain order in any space! Check out this great setup for tools and gardening supplies from The Container Store…oh, and right now they are having FREE INSTALL on all Elfa orders of $750 or more from now until June 30, 2018! Yay!!! Your answer for organizing, Ali  Something I get asked quite regularly is “how do I know if I need a Professional Organizer?”. So, I wanted to share my thoughts around when it might be time to hire a professional organizer, or PO for short.
Isn’t this a much better list to say “YES” to?
Your answer for organizing, Ali 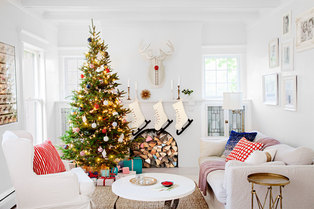 It’s that time of year where many of us have guests staying in our homes. Here are some quick tips to make your guests feel at home! 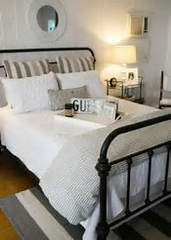 Guest Bedroom/Bath:
Kitchen:
This truly is one of my most favorite times of the year, and I love opening my home to family and friends. I hope that these tips can help you enjoy the season with a little more merriment if you find yourself hosting! I wish you all a very merry Holiday and a Happy New Year! Your answer for organizing, Ali  Tis the Season for Holiday party planning! I know many of us love to entertain, but the thought of it can be a bit stressful! So, I wanted to gather some tips together to help you enjoy your party as much as your guests! 4-3 Weeks Out:
About 3 Weeks Out:
Two Weeks Out
One Week Out:
3 Days Out:
2 Days Out:
1 Day Out:
Day Of…Here we go!!!!
Day AFTER Party
I want to wish everyone planning parties this Holiday Season a successful event! I'd love to hear some of your tips in the comment section! Cheers! Ali
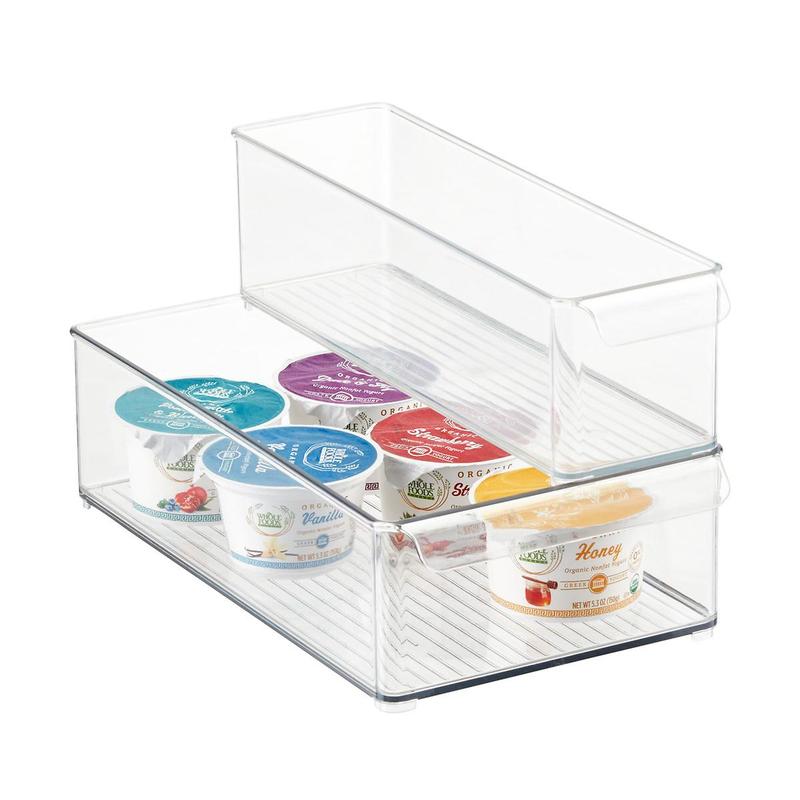
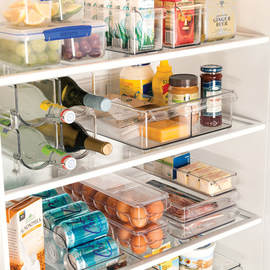 So, I promised to write about the perfect fridge set up, and since I just purchased a new refrigerator, I’m really motivated to write this blog;) The first step would be to remove everything from your fridge, paying attention to expiration dates! Chuck anything that’s expired, and remember to keep a list of the things you threw out so that you can replace them on your next shopping trip. After giving your fridge a proper cleaning, use liners to help contain spills. These ones from Kitchen Millennium can be found on Amazon and are awesome!!! They come in a bunch of fun colors/designs, and they are even washable for when spills do occur. Next, give some thought around what the best spots are in the fridge for certain items. Snacks should be convenient for the kids, meats should be on lower shelves and milk should be kept cold. Here are some guidelines you may want to keep in mind:
With the Holidays fast approaching, I'm confident you'll be glad that you took a few hours now to get your fridge organized! Please feel free to share this blog and leave your comments! Your answer for organizing, Ali |
AuthorAlison J. Monaghan, Owner of Organizing By Ali Archives
February 2020
|


 RSS Feed